
Sample, then decide
Asbestos Testing in Bay Shore, NY
A lab answer on your tile, lagging, ceilings and shingles, so removal only happens where the results say it should.
Looking at It Will Not Tell You. A Lab Will.
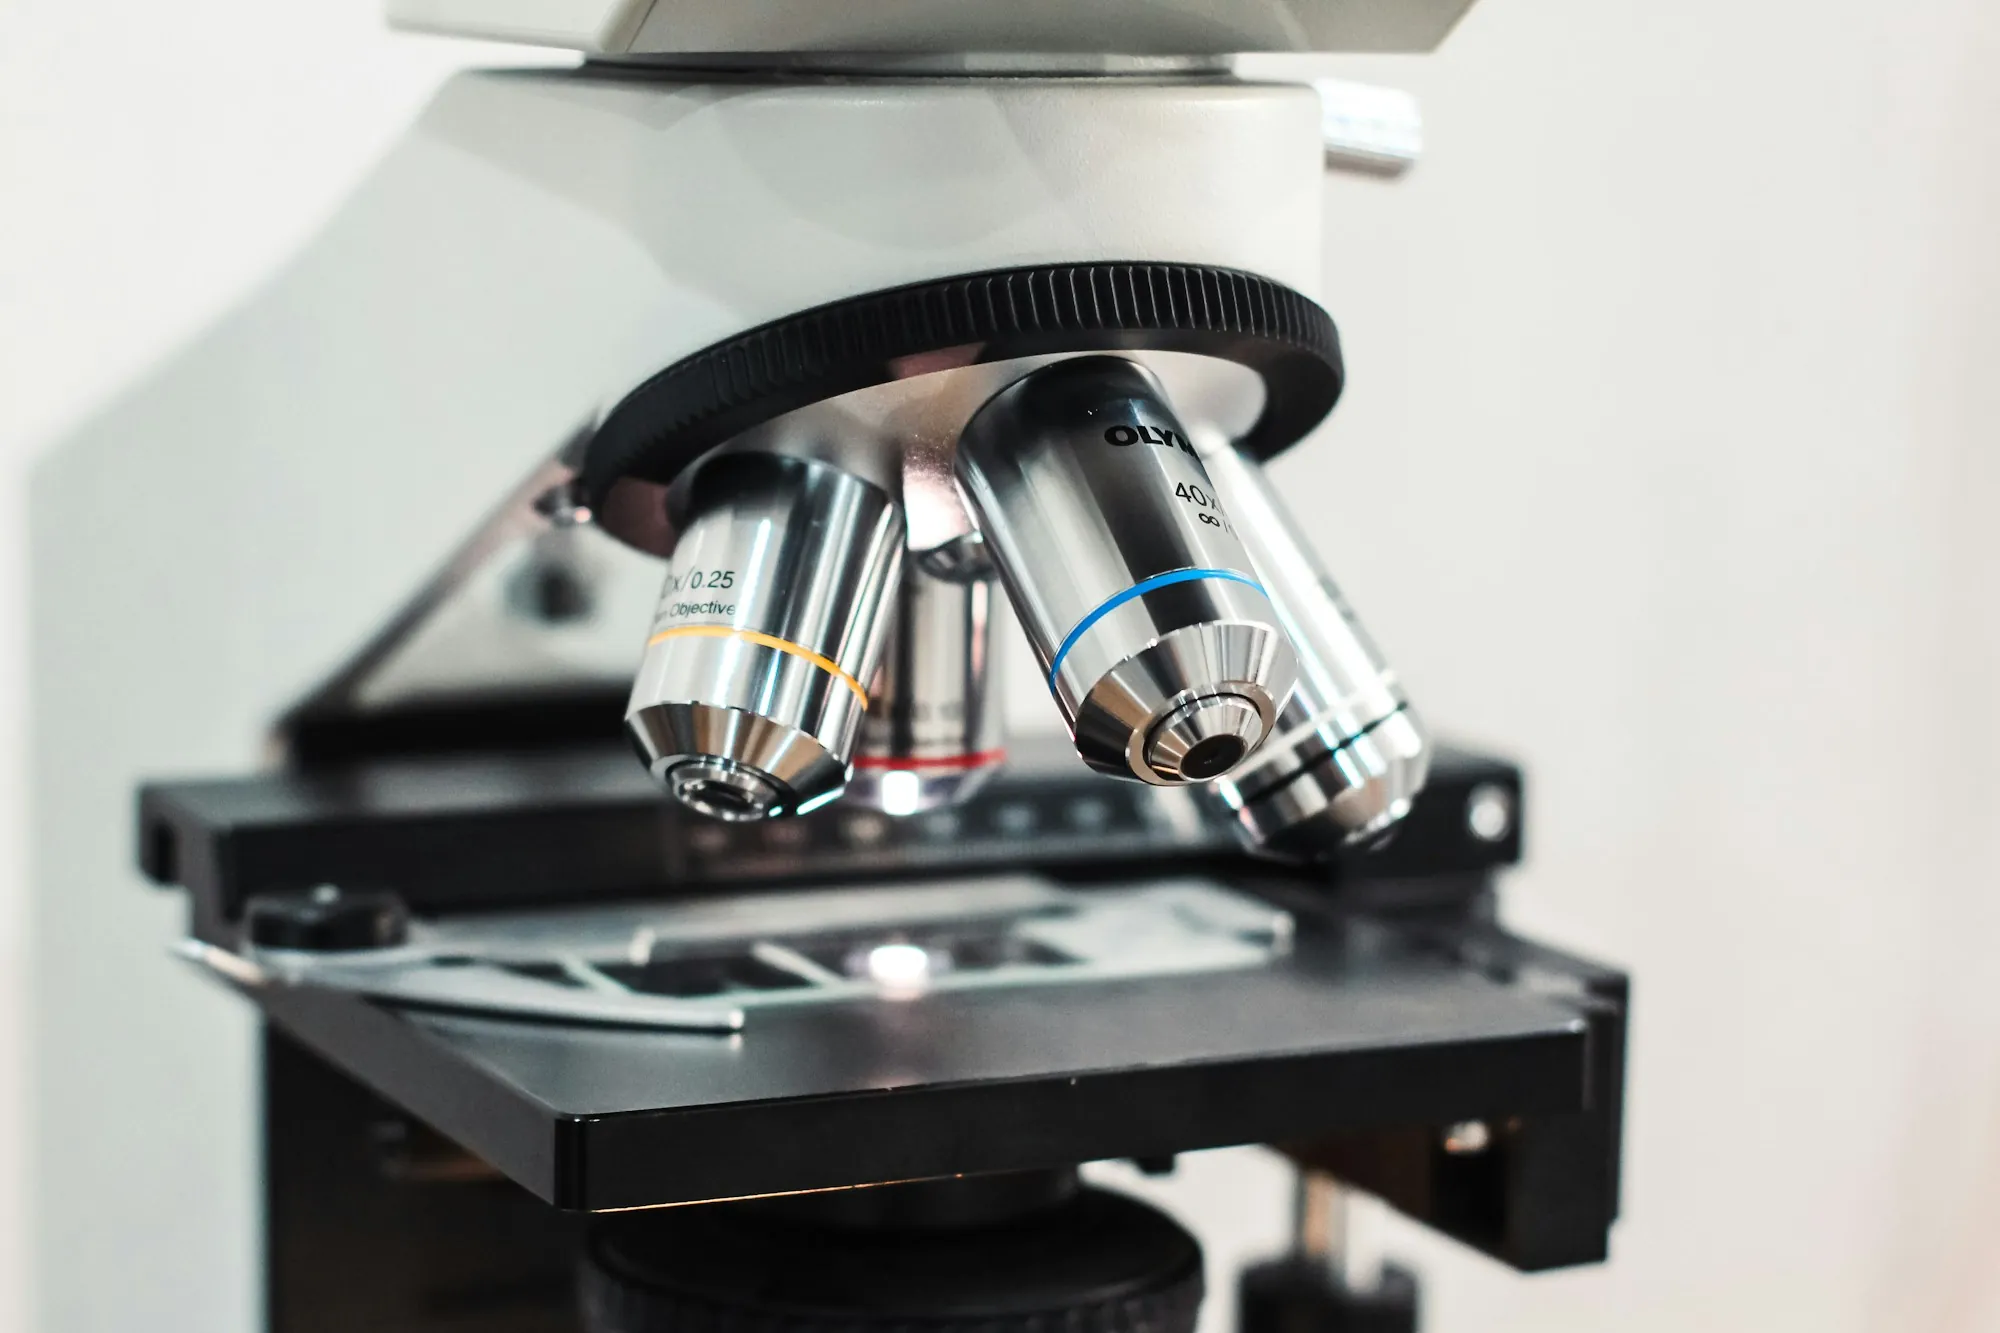
Asbestos has no telltale look. It sits inside floor squares that resemble any other floor squares, inside pipe covering that passes for ordinary insulation, inside ceiling texture, wall compound and the gray shingles on a cape. Eyes cannot settle it. A sample and a microscope can. That is the whole point of testing. A certified inspector comes out, walks through the rooms your project will touch and studies the materials you have doubts about. Small pieces are cut out carefully, misted first and sealed immediately, so the sampling itself releases nothing. Those go off to an accredited laboratory. What comes back is a clear split: this material has asbestos, that one is clean. Those results drive real decisions. Gutting a kitchen in an older Bay Shore house. Listing a home or buying one. Swapping out a boiler. Tearing down interior walls. A clean report lets your contractor get going. A positive report pinpoints what has to come out and what can stay, so the work is planned instead of discovered halfway through demolition. Either way, the guessing stops, and any removal you pay for covers only material the lab has confirmed.
What Testing Includes
Sampling aimed at the materials your project will actually touch.
Walkthrough of the work area
The inspector reviews the rooms and surfaces your remodel, repair or sale puts in play.
Careful sampling
Pieces cut while damp, bagged on the spot, and each sample hole patched afterward.
Lab confirmation
Each sample examined by an accredited laboratory instead of judged by eye.
Results explained
Positives, negatives and what each one means for your plans, without the jargon.
Common suspects covered
Resilient tile and glue, lagging, sprayed ceilings, wall compound, siding and roof shingles.
A path to removal if needed
Positive results feed straight into a written removal scope, with no second round of guesswork.
How Testing Works
Start with the plan
Explain the work you have in mind and which materials concern you. That shapes the sample list, so effort goes into surfaces your project will disturb and not ones it never will.
Inspect and sample
A certified inspector visits, looks over each questionable surface and takes small pieces with care. Every one is bagged, numbered and shipped to an accredited lab.
Get results and decide
The report shows which items are positive. From there, your contractor proceeds, or removal is planned for just the positive items.
Why Test Before You Touch
No paying for guesses
Removal gets priced only for what the lab has confirmed.
No mid-demo surprises
Early answers keep a remodel from grinding to a halt in week two.
Sampling done safely
Pieces are cut wet and sealed fast, so the test never causes the very problem it is looking for.
- Certified inspector
- Accredited lab
- Plain results
- Scope from the data
Not Sure What Is Under That Old Floor?
Describe the surface and the project it stands in front of. You will learn which spots are worth sampling and how a lab report steers whatever comes next.